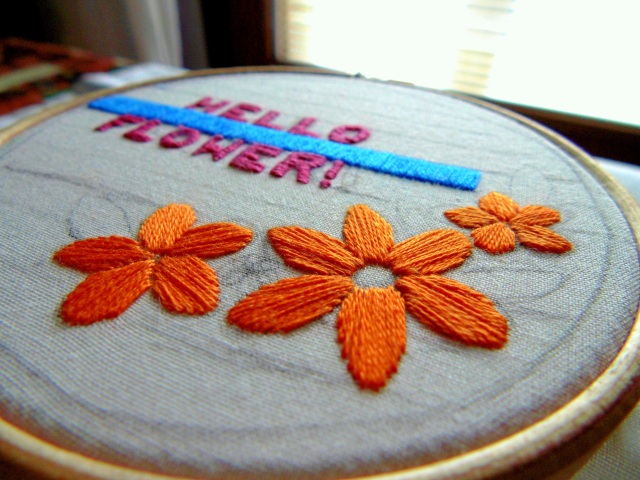
I haven’t been able to make much progress with this project. Making a start on it though has given me a host of other ideas for things I can try out in satin stitch so I have committed them to the list for a future date.
I had a couple of people ask me about how to make a success of satin stitch. One of my IG friends told me that she has always been a bit afraid of satin stitch and tended to avoid it. I wouldn’t claim to be an expert by any means but, far from avoiding it, I quite enjoy working on this stitch. It got me thinking whether there were any useful tips on satin stitch I could share.
I generally use two strands of floss for satin stitch. It does mean that it can take forever to cover a particular space but it does help to keep your work from getting lumpy. It is really important that you don’t let your floss get twisted. I know this is a standard thing in hand embroidery but it is especially important when working satin stitch. As I finish each stitch I gently stroke it with the eye of the needle to make sure it lies flat
Satin stitch is a bit like maintaining good family relationships: Each stitch needs to snuggle in next to the previous stitch – you don’t want to see the fabric between stitches. At the same time it mustn’t be suffocatingly close or you will create lumps and bumps
Be be careful not to make your stitches too long. How long is too long is a matter of judgement but you will know if they are because a couple of them will almost certainly look a little too slack and stand out from the others. When I find this is the case, I generally switch to another filler like pueblo stitch.
To ensure nice regular stitches, you may want to back stitch around the perimeter of the area you are going to cover. I haven’t done this with either of the projects I have posted today so it isn’t always necessary, especially if your are adding couching as I have done here.
As you take the first stitches, take your time! Each stitch lines up with the previous stitch, so if you get the first one wrong, then the following ones will be wrong too. If you are not entirely happy it is best to undo one or two stitches rather than persevering and realising you have to unpick a whole row. With satin stitch, you need to dictate where you insert the needle. I know that probably sounds a little odd but often with stitches you take into account the warp and weft of the fabric and slightly adjust accordingly – you can’t really do that with satin stitch. I find after a couple of stitches, the fabric and floss usually find a nice rhythm and you can start to tell where you need to place the needle to get an even finish
I must stress that I do not claim to be an expert, I am just sharing a few tips I have found useful. I would love to hear if you have any other suggestions for satin stitch!


That looks beautiful! 🙂
LikeLiked by 1 person
Thank you – so kind!
LikeLiked by 1 person